Would you like to know every secret in order to better exploit your Erbesi children’s bed & accessories?
Have a look at the videos and you’ll find all the answers you need.

FAQ
The right sizes are 125×60 cm. or 125×63 cm, depending how much space you want to live to tuck in the covers.
The oval mattress ARIEL is included in the bed’s package and its size is 128×60 cm.
Yes, it is possible. However, it’s necessary to fix the other side by using the supplied screws in order to secure the bed’s structure.
In order to make the parents life easier, every bed but BRIGETTE is supplied by a kit to fix the base at the high position during the very first months.
It is very important to fix both the sides at the high position with the supplied security screws once you put the base at the high position.
The maximum capacity is 30 kg, but the limit is done by the internal sizes of the bed or the cot in relations to the height of the baby.
Both the sides of each Erbesi’s bed are supplied with the Secur Baby system that allows the sides to move up and down by doing two different moves, that only adults can do, according to the European security rules.
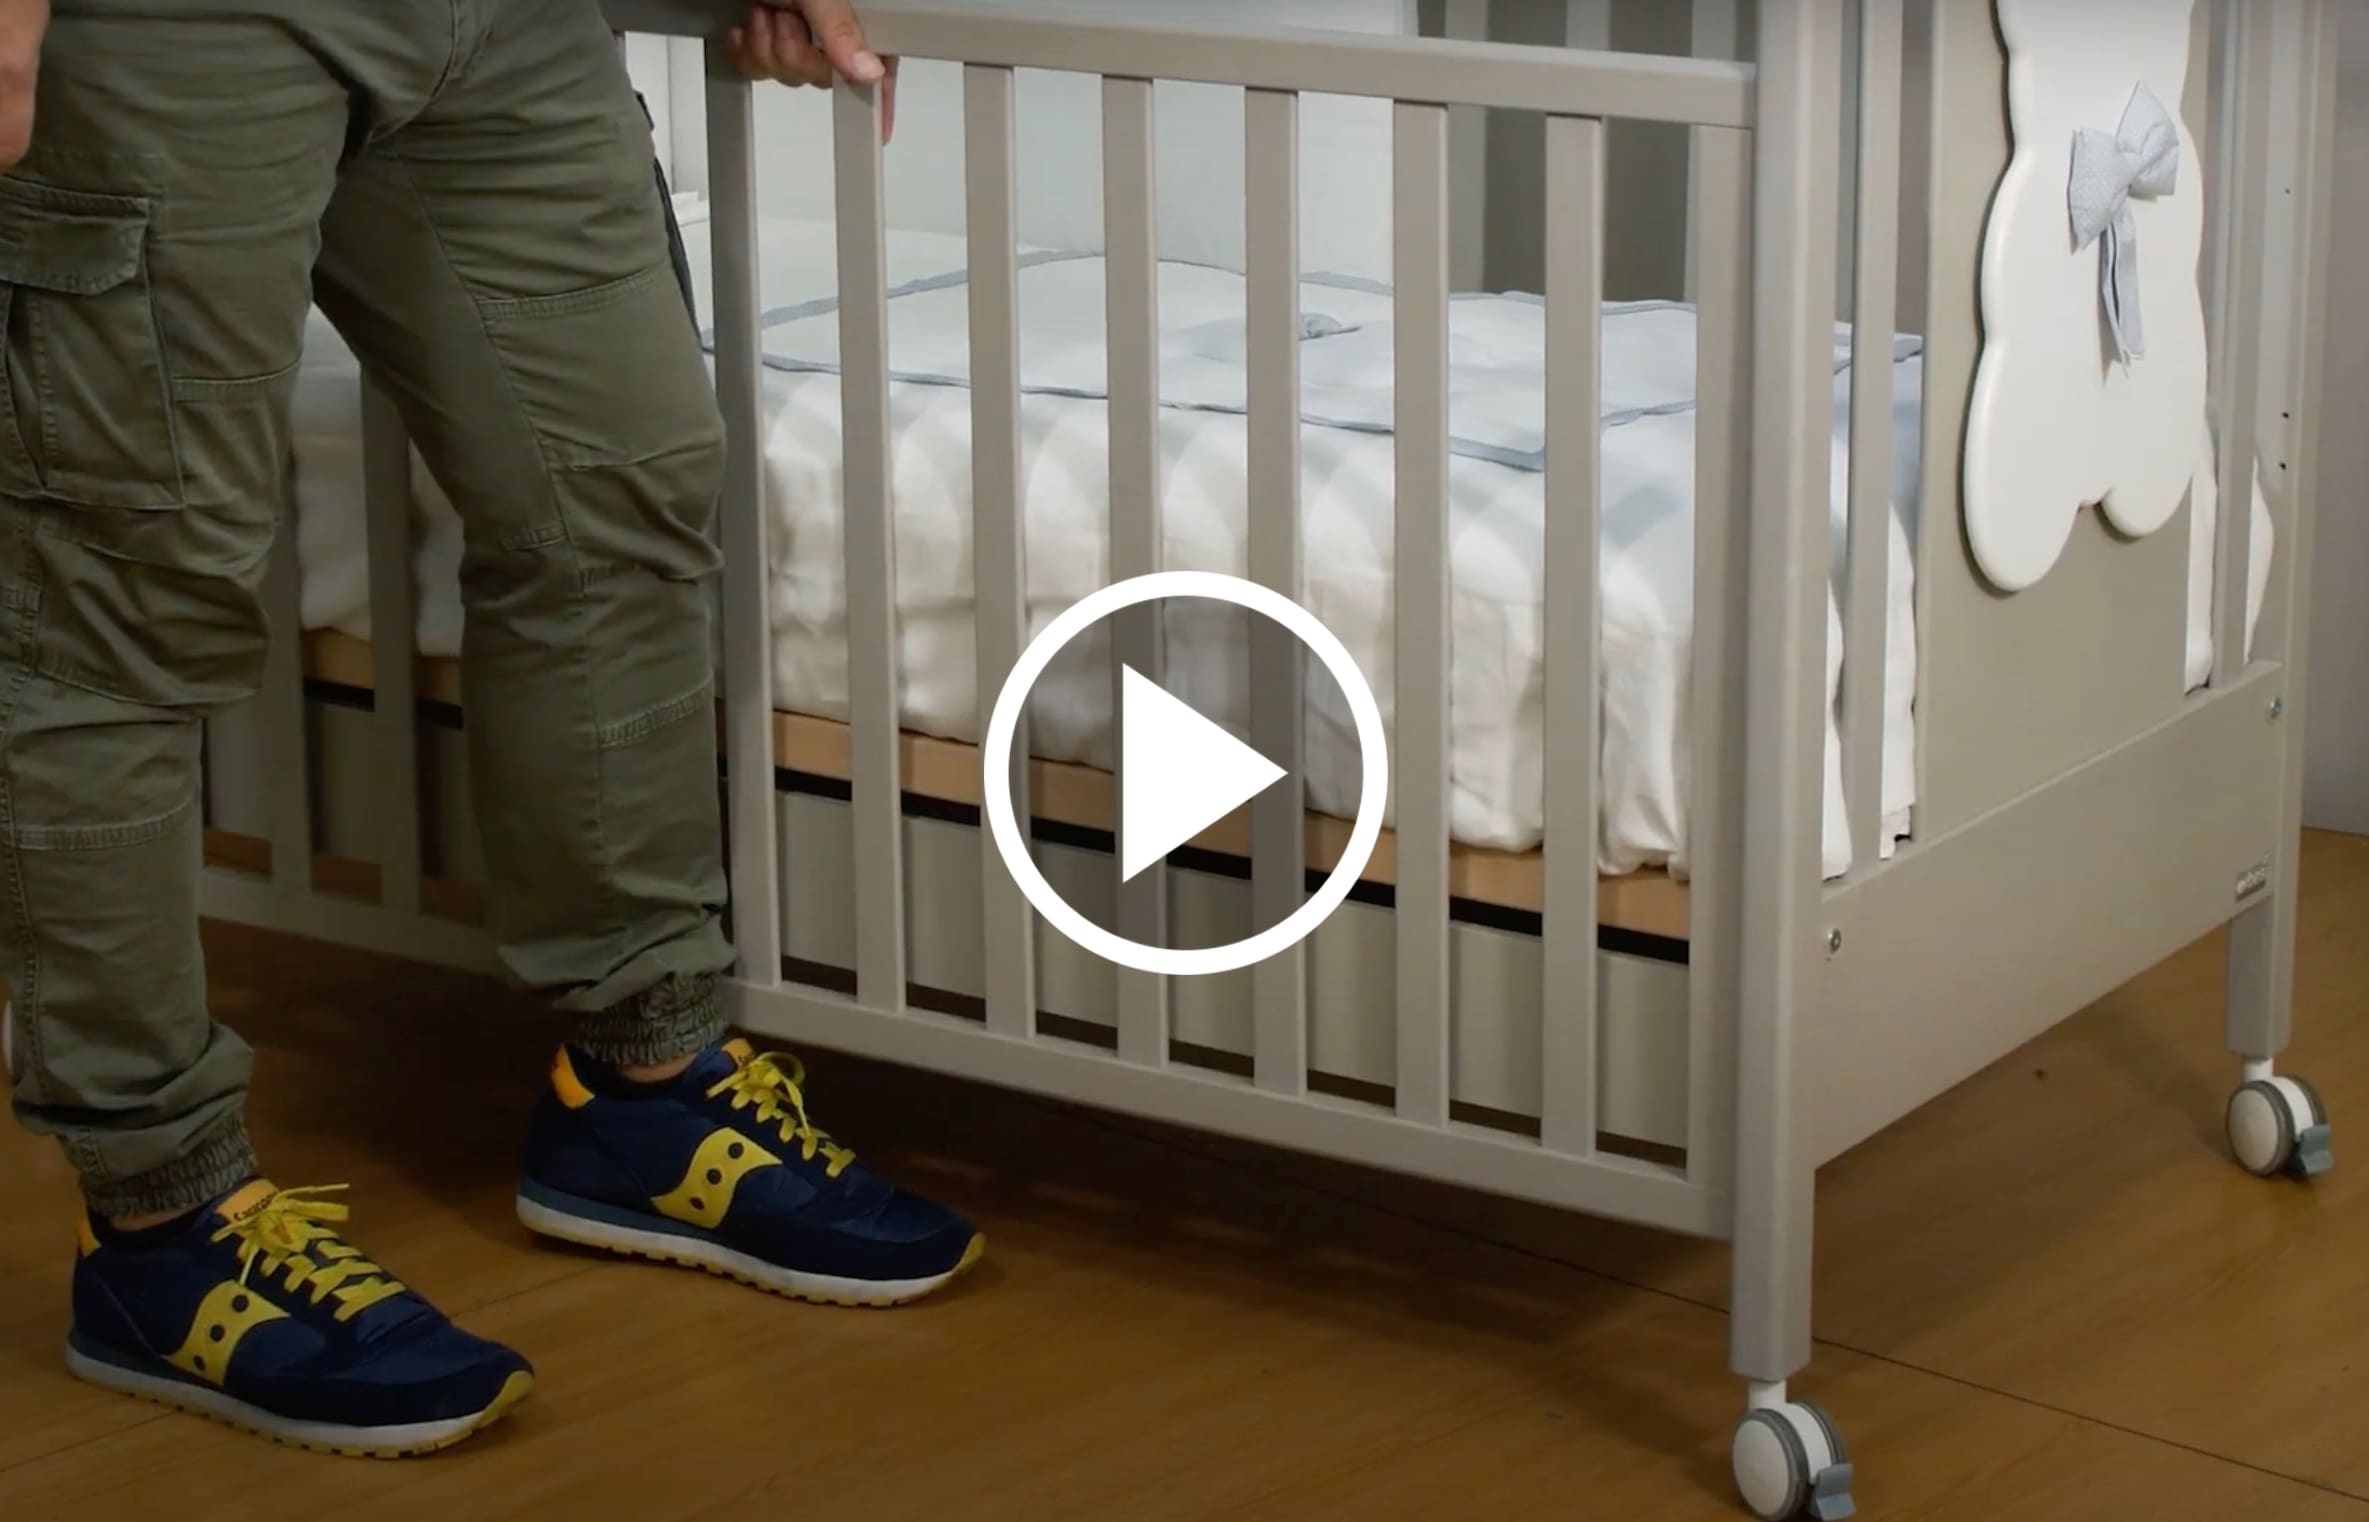
To lower the side rail you need to pull upwards by grasping the center of the upper orizontal bar and immediately push toward the bed, using your leg, the orizontal bar at the bottom, At this point you can lower the side rail.
To raise the side rail you have to push toward the bed, using your leg, the lower orizontal bar, then you can pull up the side until you hear the “click” that means the side rail is hooked in the up position.
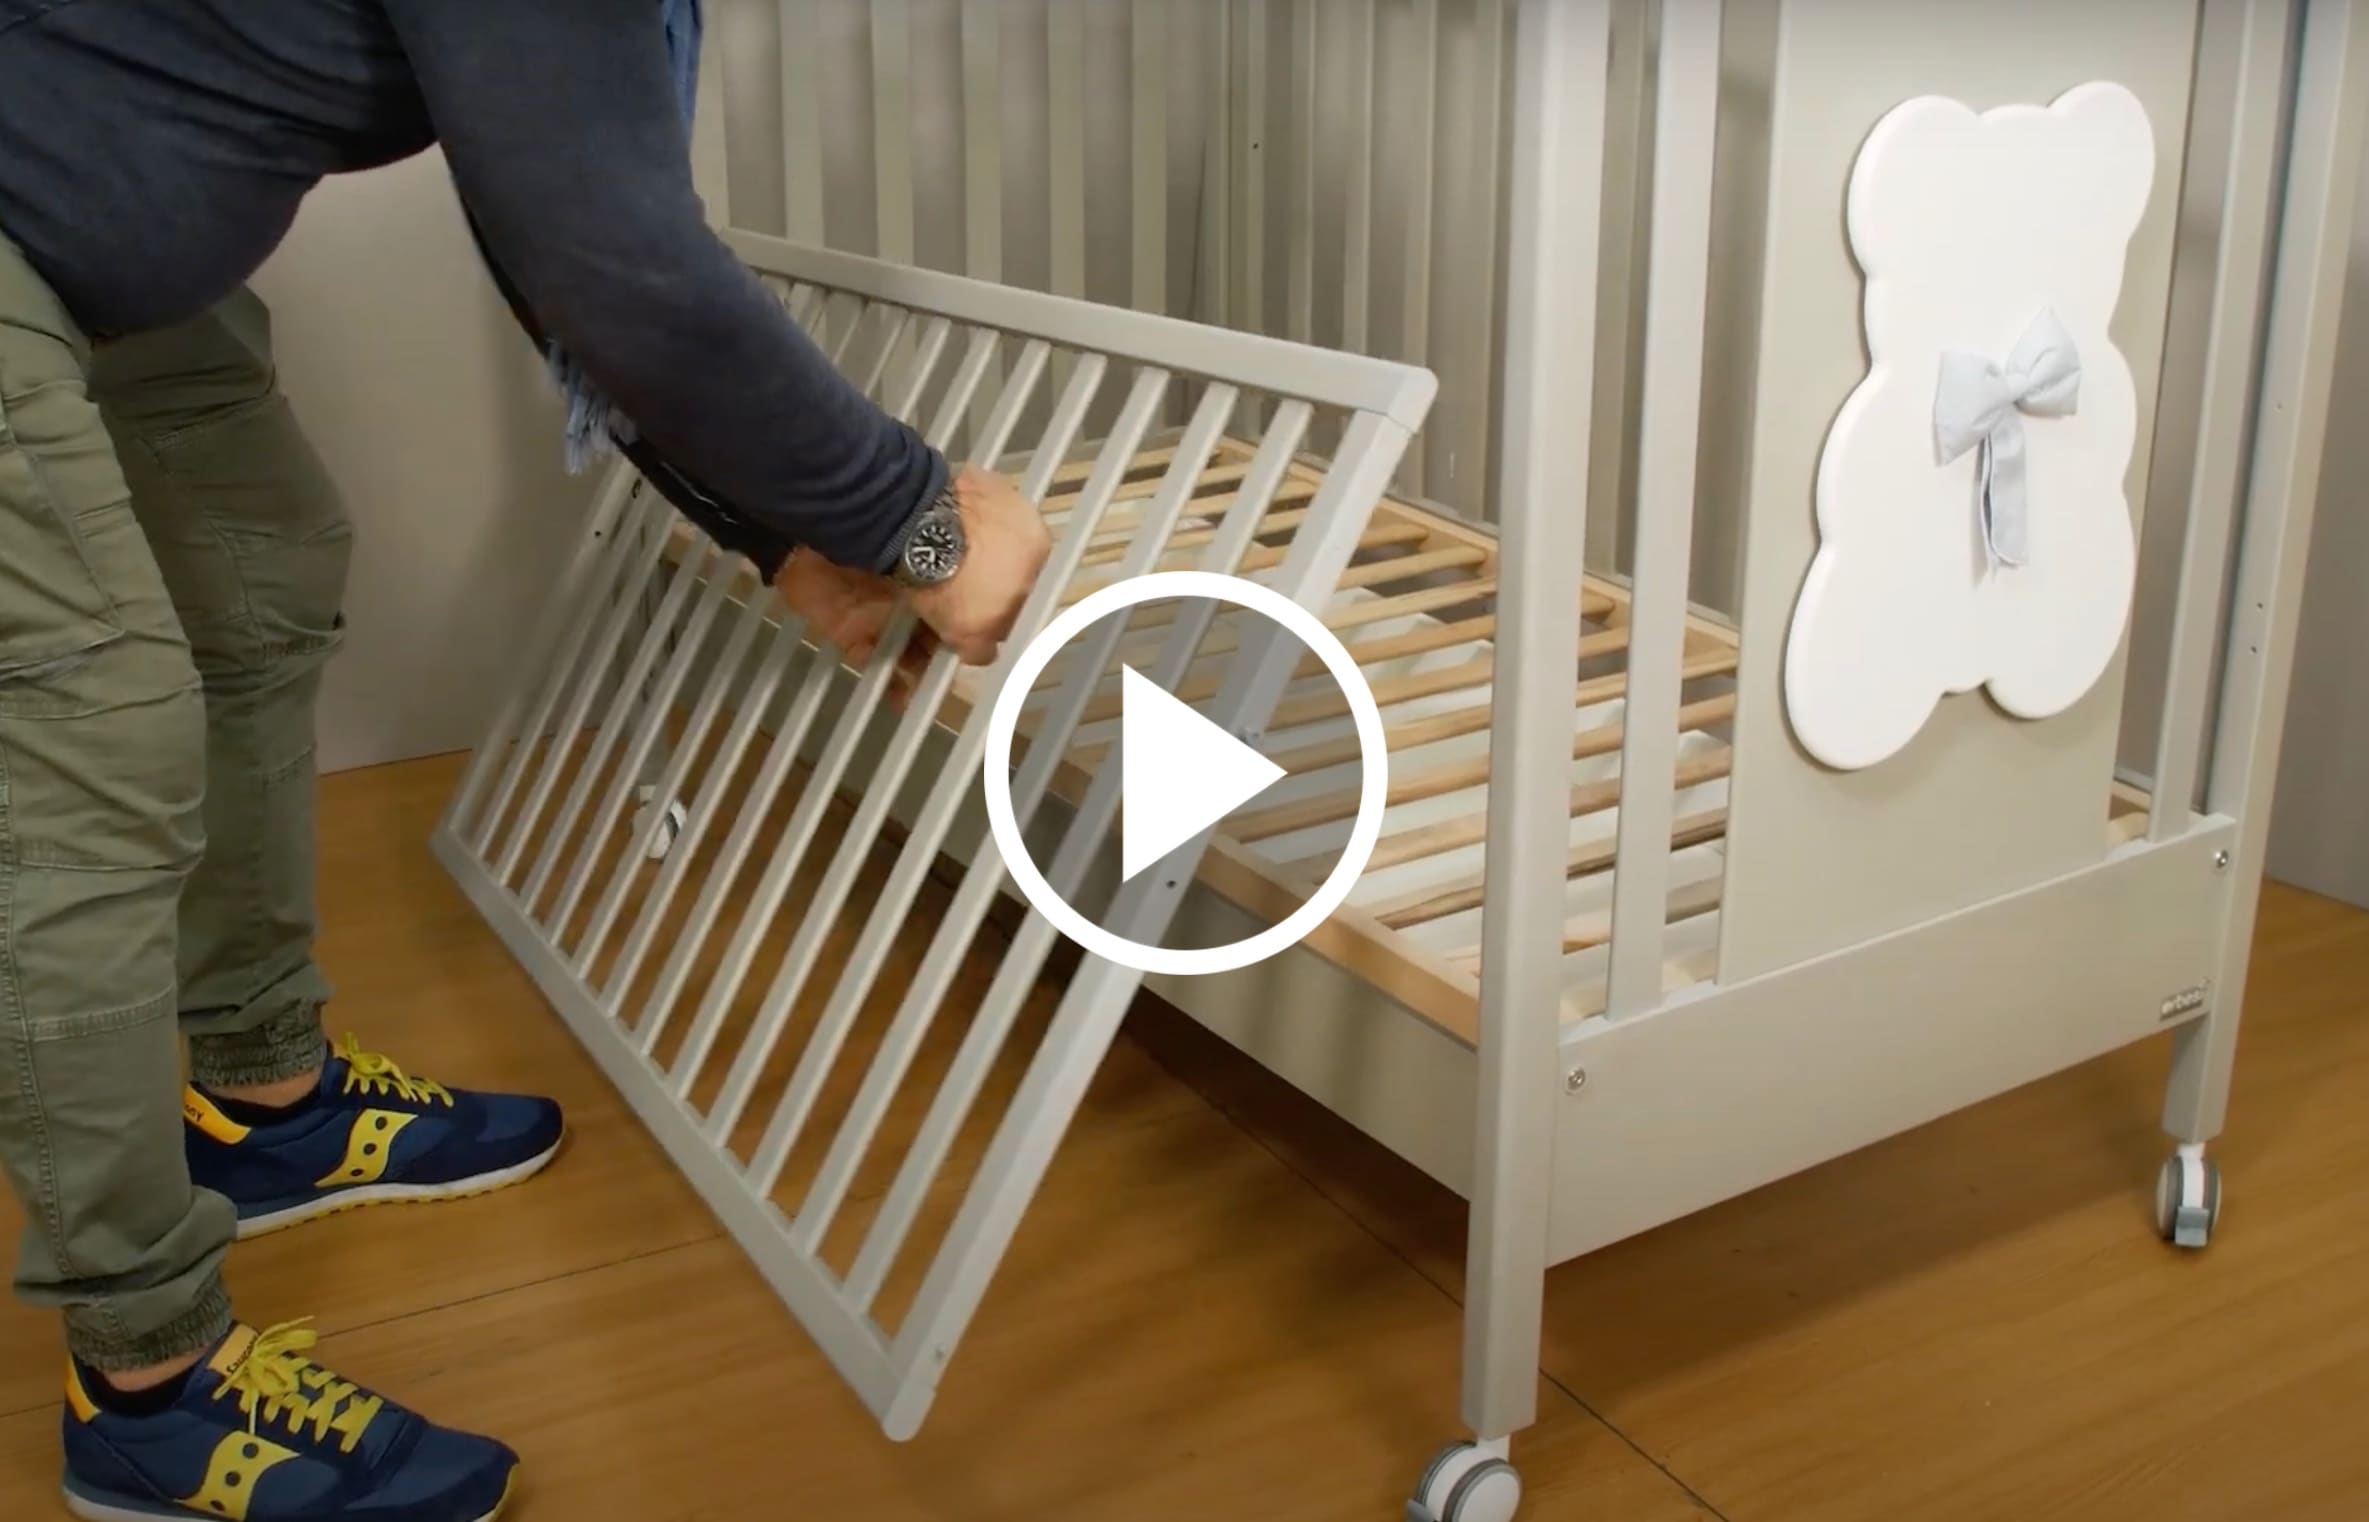
To remove one of the sides you have to start from the higher position. Making the same moves you do to make it go down, you take with the two hands the lower horizontal bar and pull it toward yourself, during its descent, until you hear two “clicks”. At this point, the two metal spring pins have came out from the seat of the bed leg guide. Now it’s enough to let the side descent completely and remove it from the bed using the loops on the leg.
After inserting the wheel metal pin inside the hole into the bed leg, hammer the wheel until you hear a click, that means the pin is inserted all the way to its end. If you did it correctly, the wheel turn easily and don’t get out; if you have not did so, you risk that the pin will force the hole and get out when you move the bed.
According to the collection choosen, you can find the following items:
- Lining for Ninna Cot (fiber mattress, removable duvet, 4 sides bumper one of which is separated to allow co-sleeping, pillow with pillowcase) and a three pieces cot sheets set.
- Lining for MINI bed (fiber mattress with Aloe removable case, removable duvet, 4 sides bumper one of which is separated to allow co-sleeping, pillow, three pieces sheet set, textile reducer).
- Removable duvet (composed by duvet, pillowcase and bumper).
- 3-pcs sheet set (composed by fitted sheet, pillowcase and sheet, all 100% cotton).
- Pile cover (150cm x 120cm).
- Mosquito net veil (fine mesh fabric and cotton 180cm x 570cm).
- Storage bag.
- Cushions set.
Depending to where you want to mount the mosquito net, you have to fix the plastic jaws, which have to be fixed to the bed one at the top and one at the bottom (at your will, on the bed sides or on the bed head). Then insert between the jaws the two straight parts of the rod. Insert the mosquito net on the oval part and, squeezing the the two extremity, insert them into the hole on top of the rod.
Insert the metal ends of the oval part of the rod into the special border sewn on the upper part of the veil, from the sides where there is the large opening, until the metal ends come out of the small hole on the back of the veil. Squeeze the two metal ends and insert them into the rod.
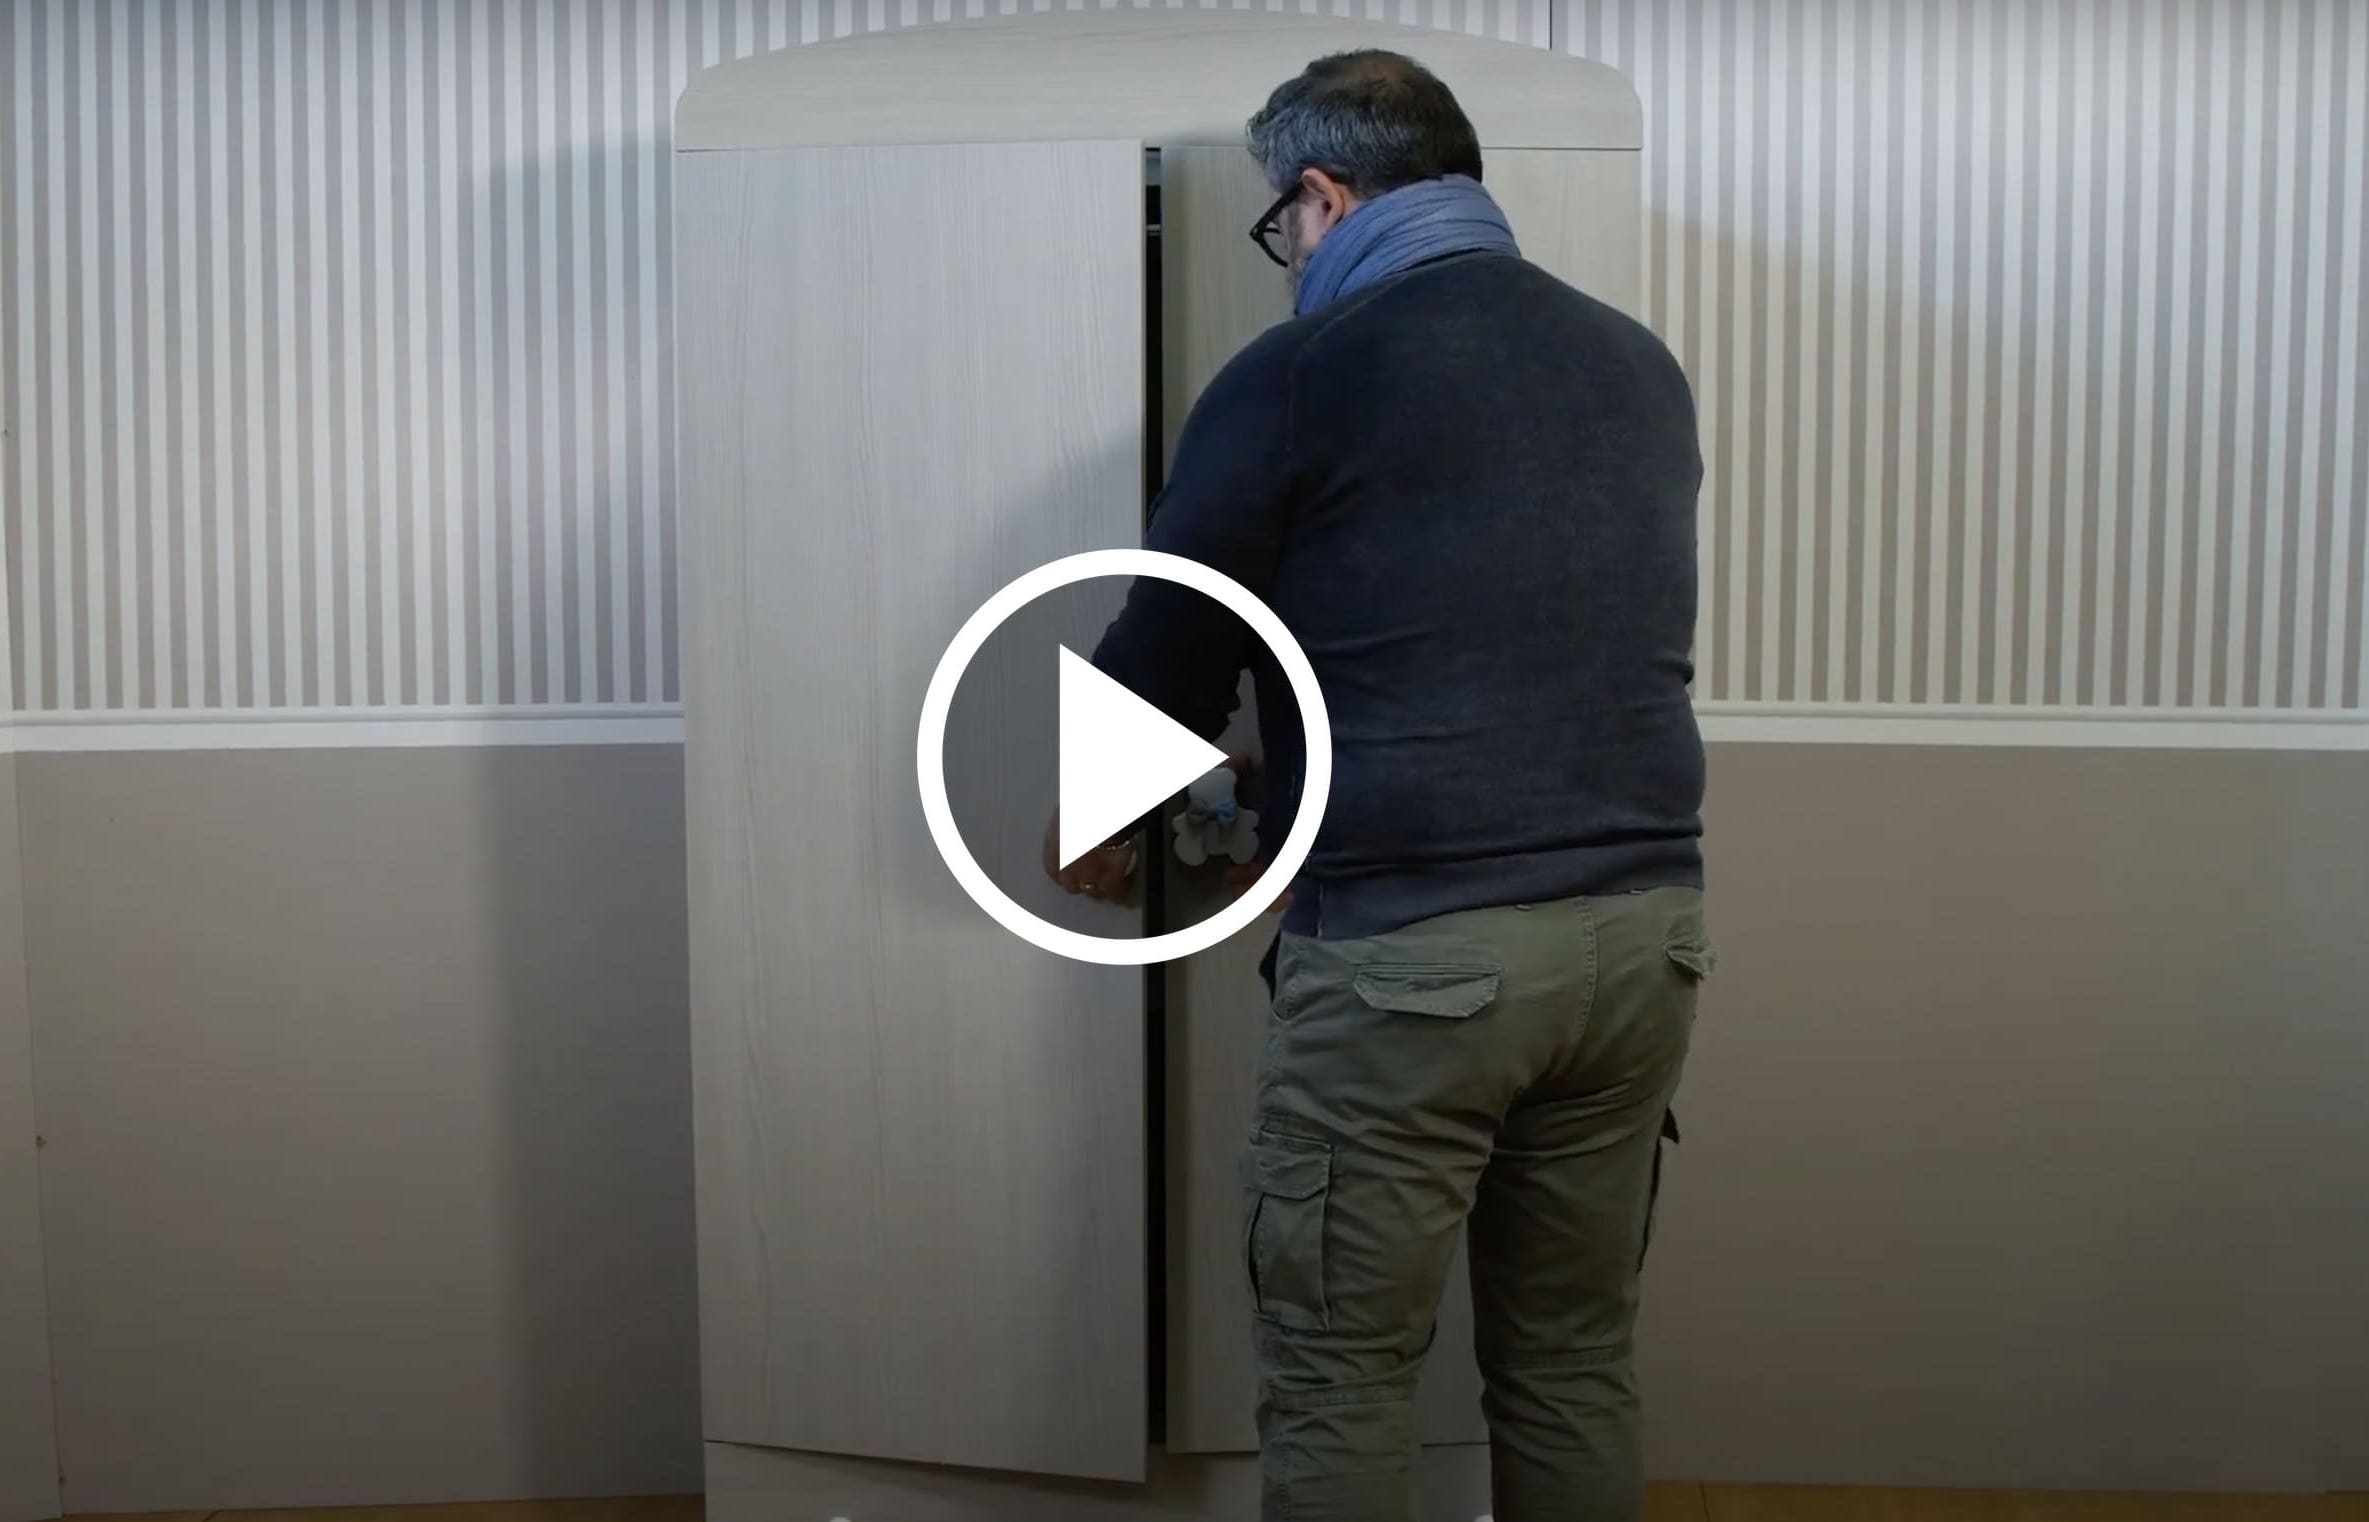
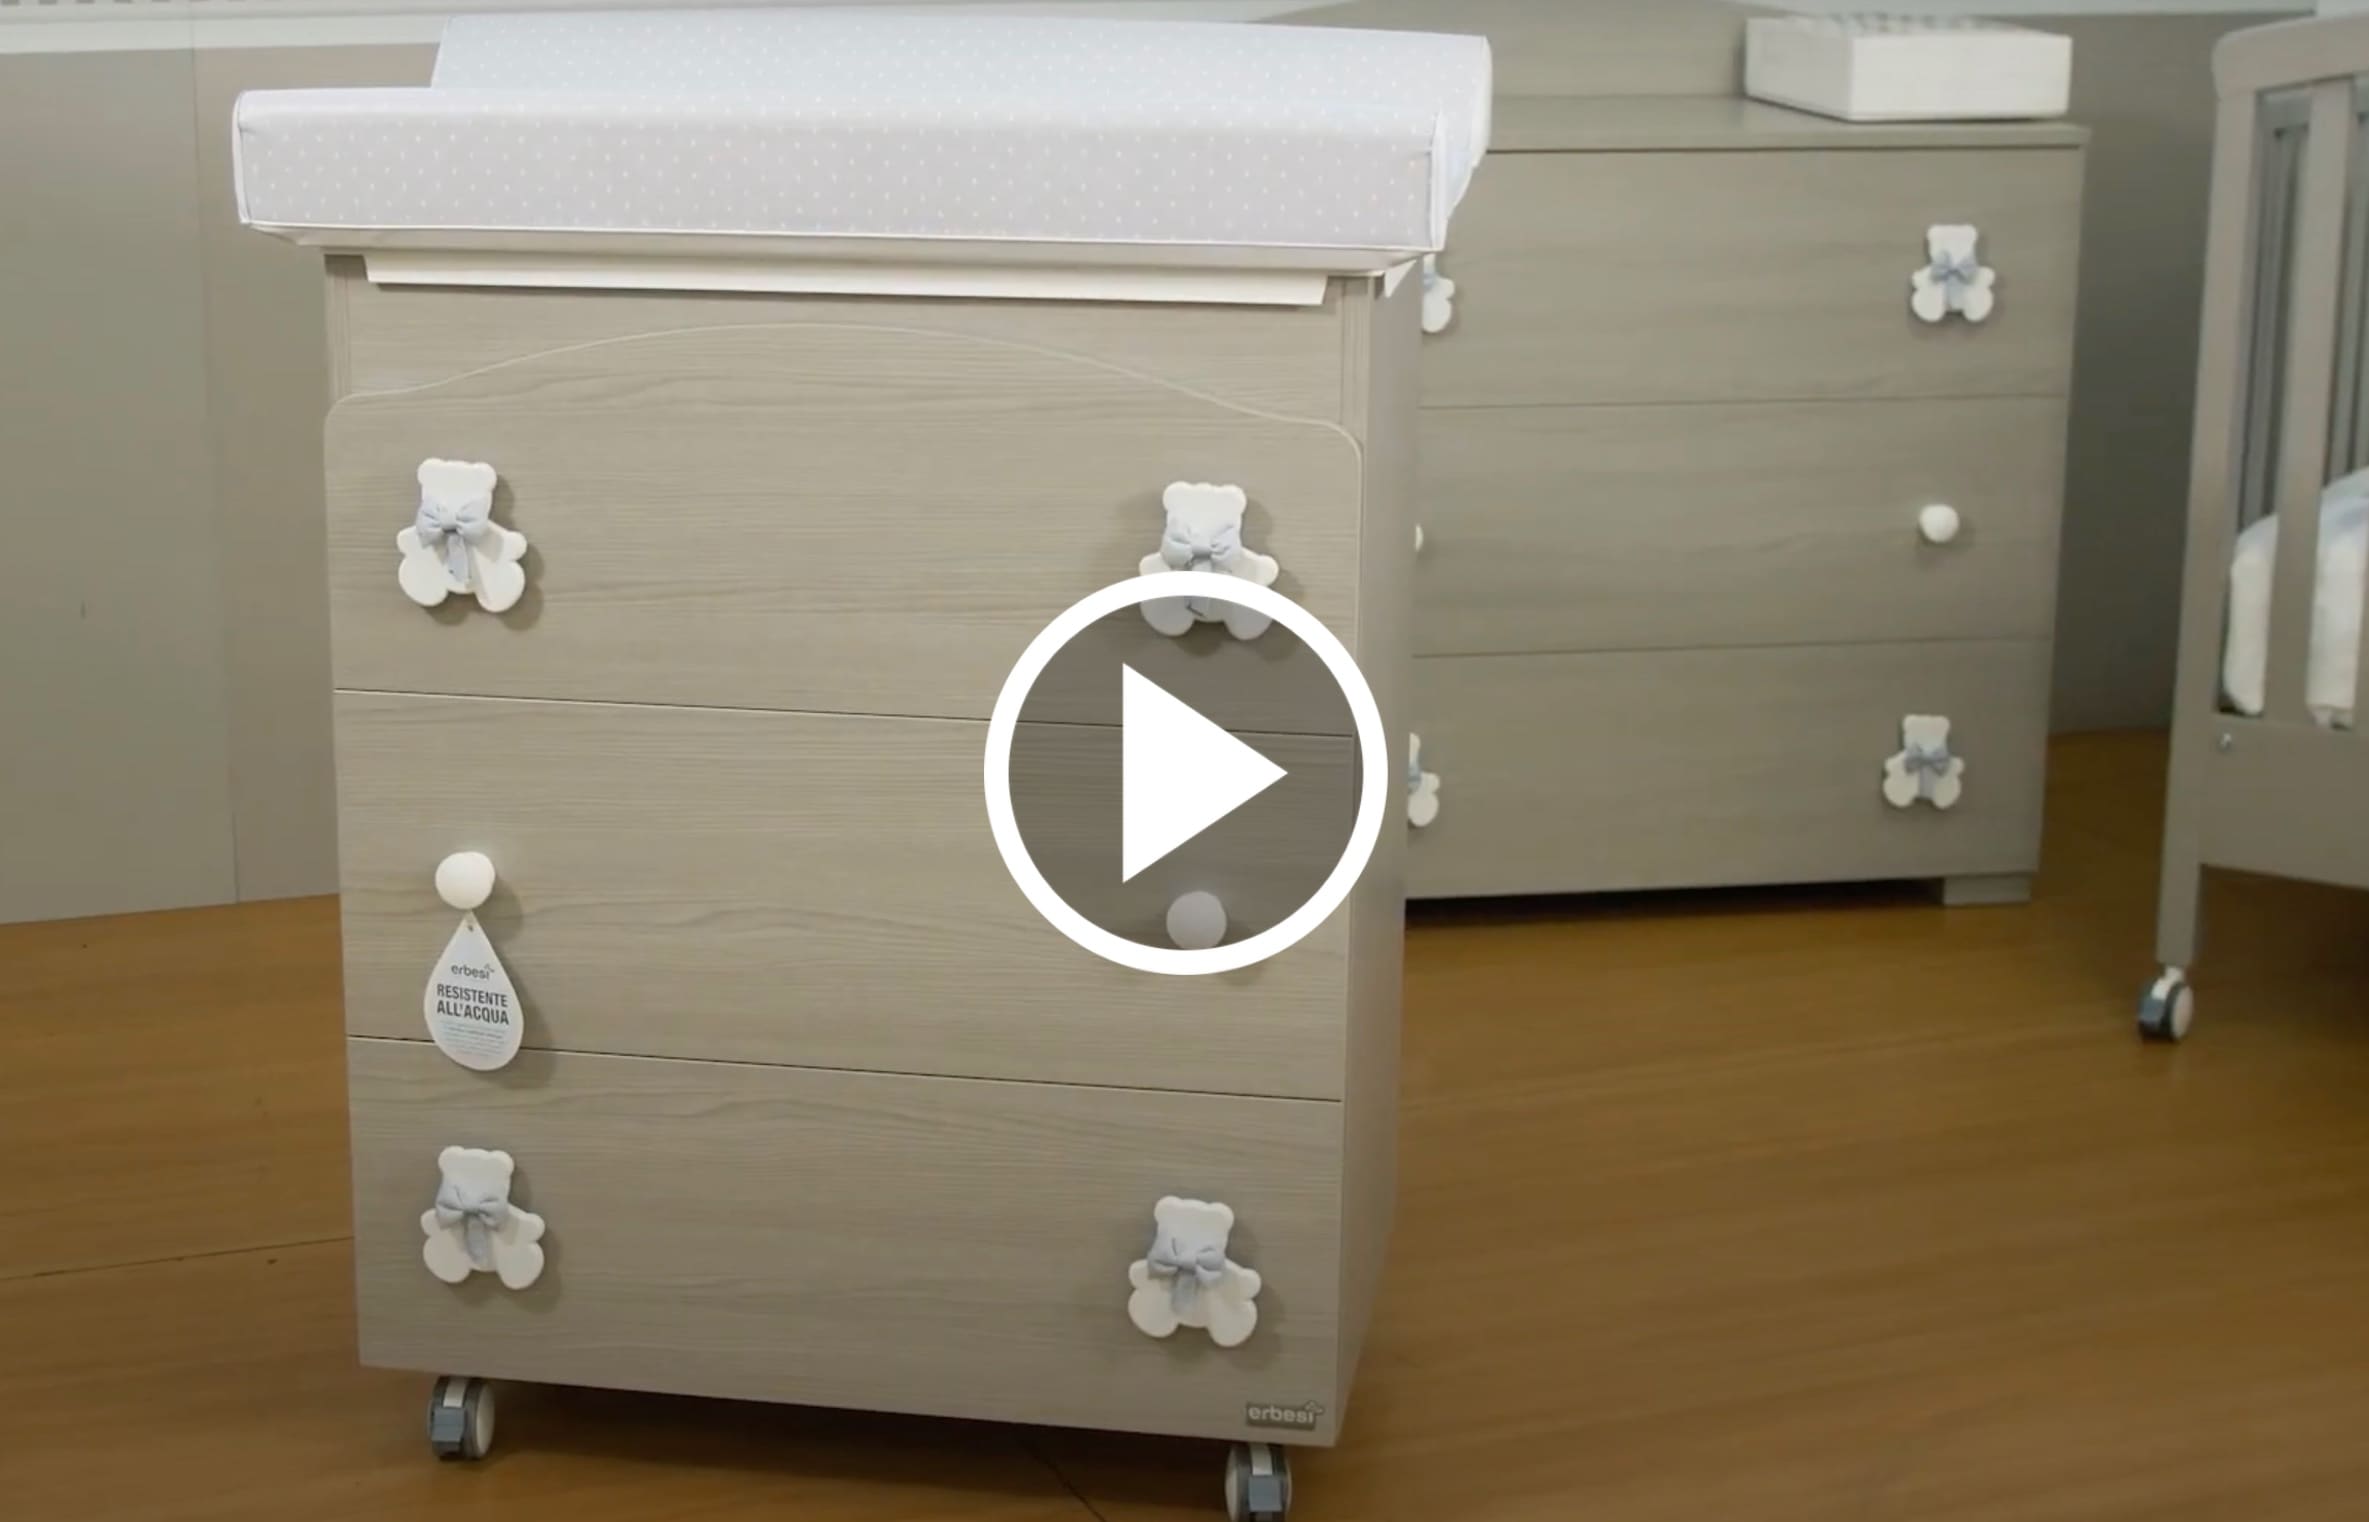
it is possible to adjust the position of the doors by screwing or unscrewing the central or the rear small screw you can find on the hinges.
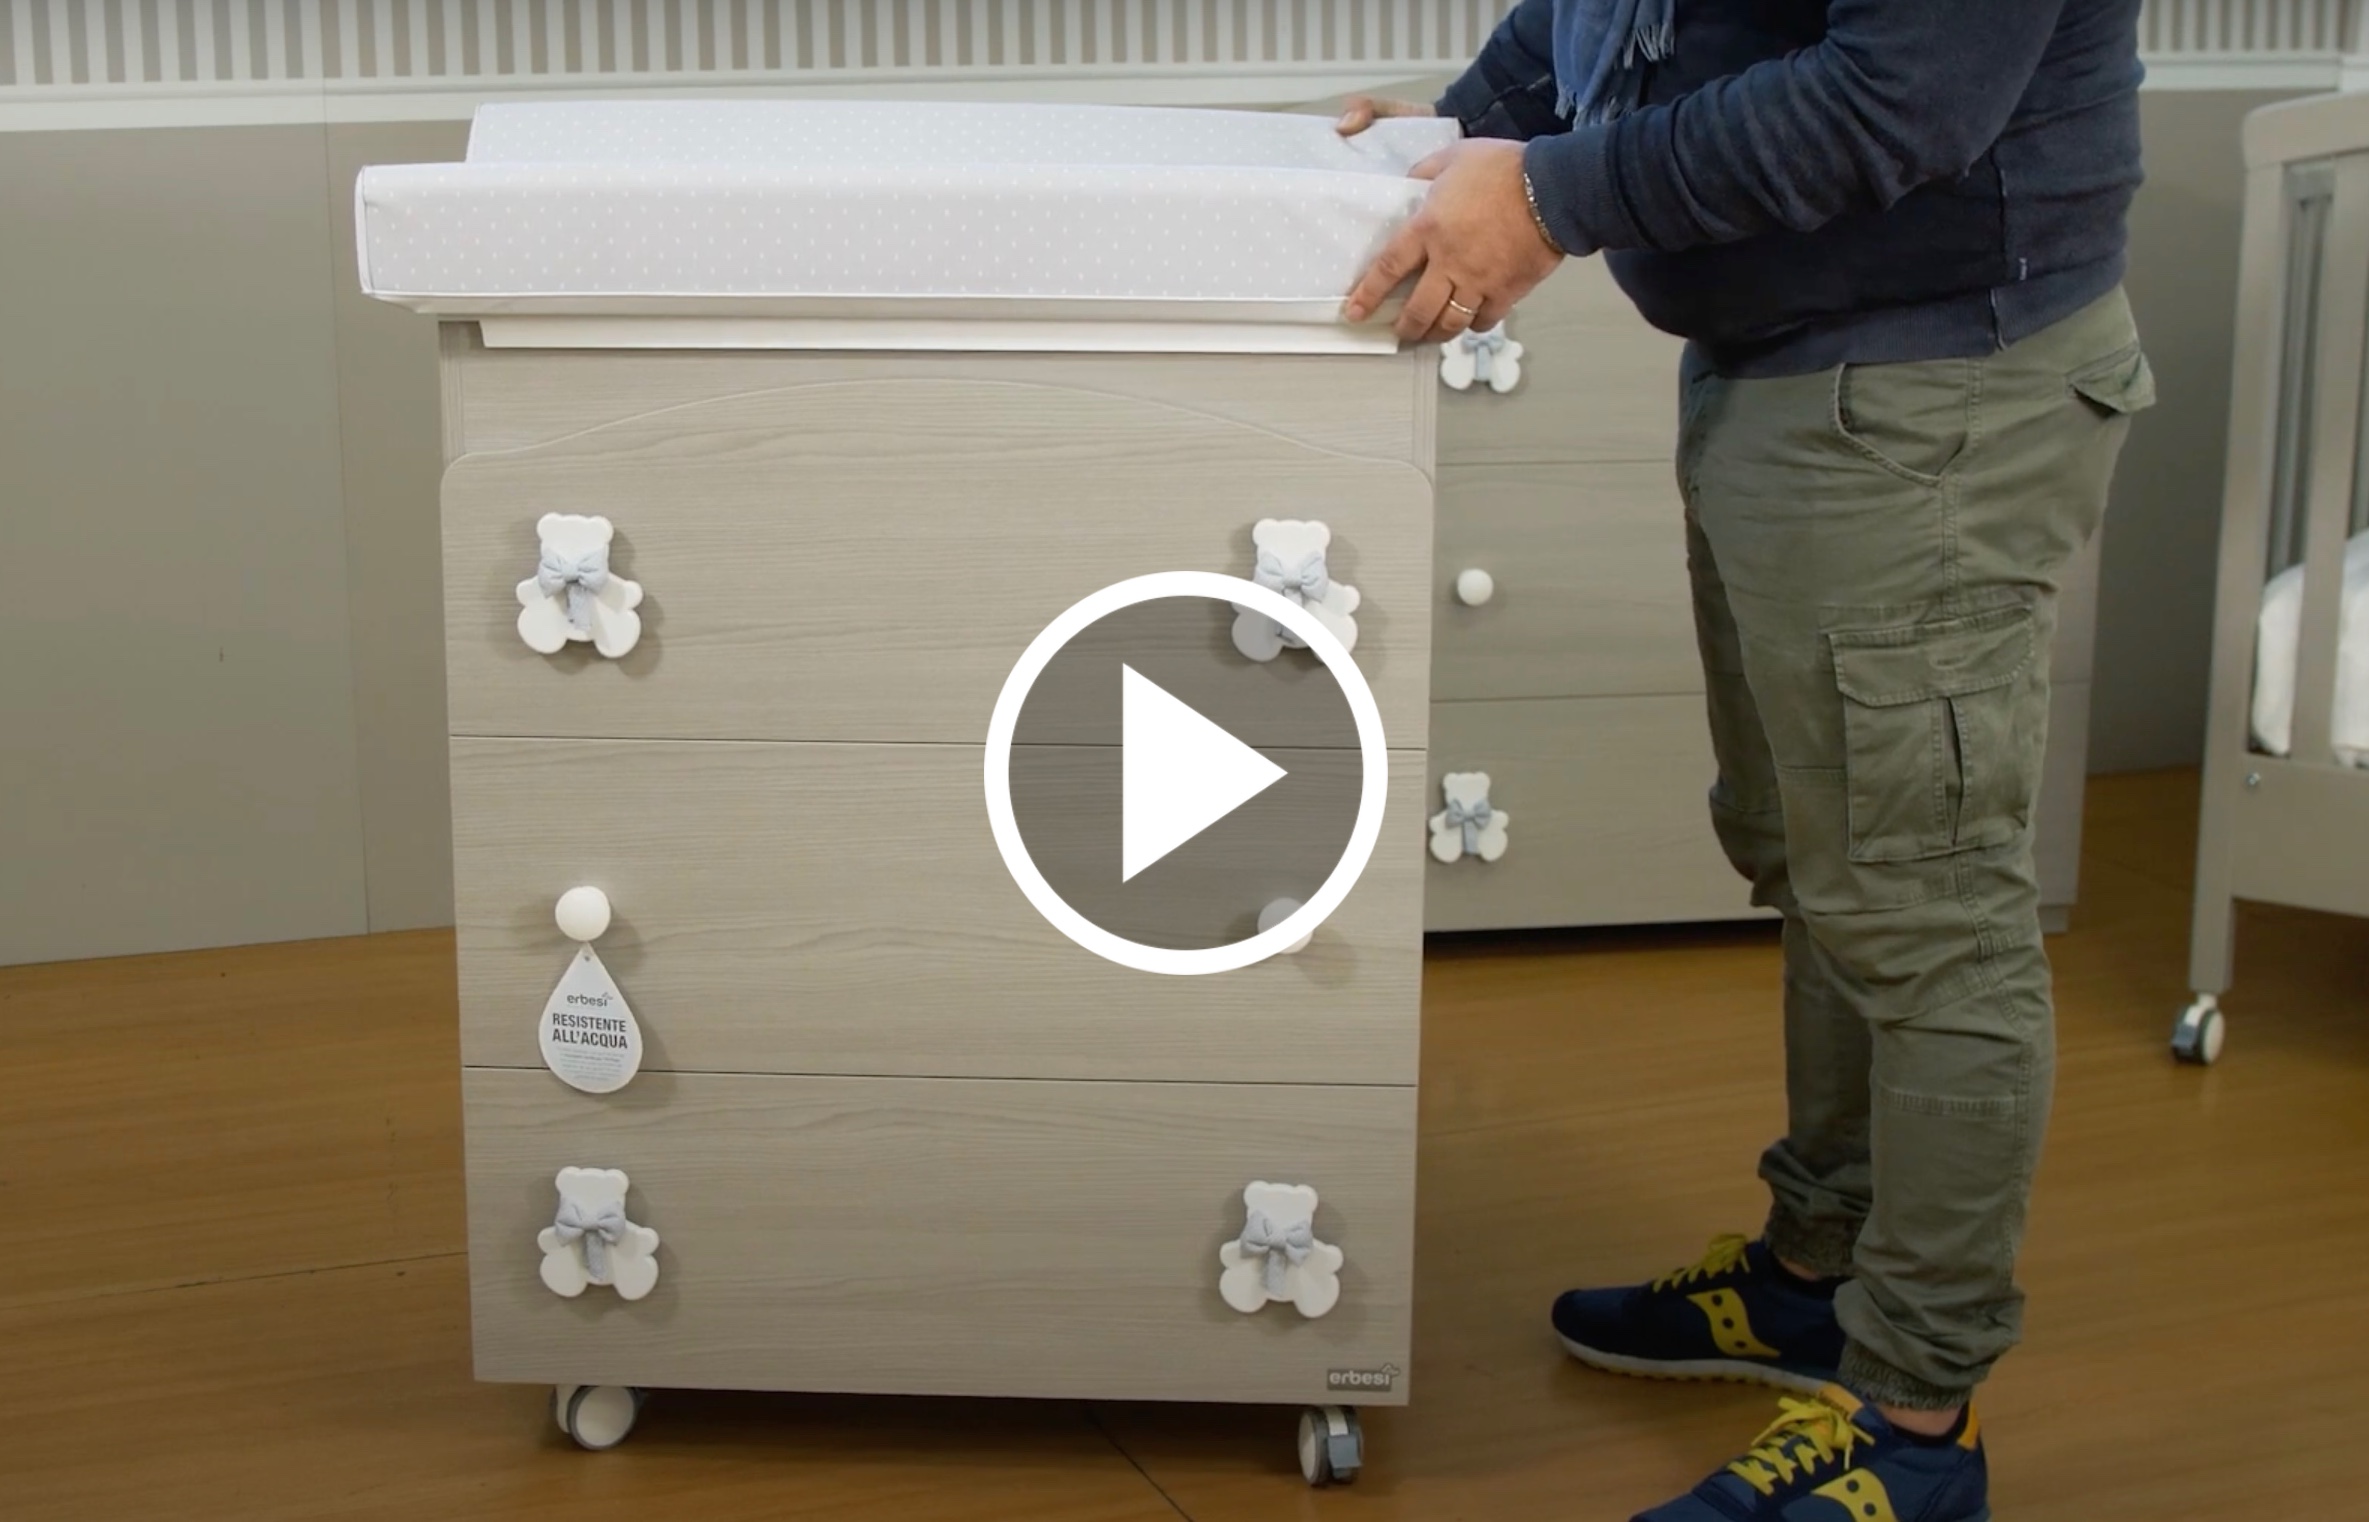
Yes they do. Both the beds and the bath&changing cabinets have swiveling wheels, two of which have a brake you can apply and unapply with your foot.
The bed must be connected with the special transformer with cable to the socket on the wall and into the jack on the inside of the footboard. You must put 8 AA batteries in the wall lamp and in the decorative lamp of the wardrobe, close the battery pack and turn the button to ON. Remove the battery-saving plastic from the remote control that you will find in the box together with the transformer in the bed, or in the lamp boxes. With the red button you turn on the devices and then you can choose the various modes of use of the play of colors, intensity of light and different colors.
To put or change the batteries just pull the cover of the Lamp, which is fixed by magnets, towards you. Then open the battery pack to put or change the batteries.
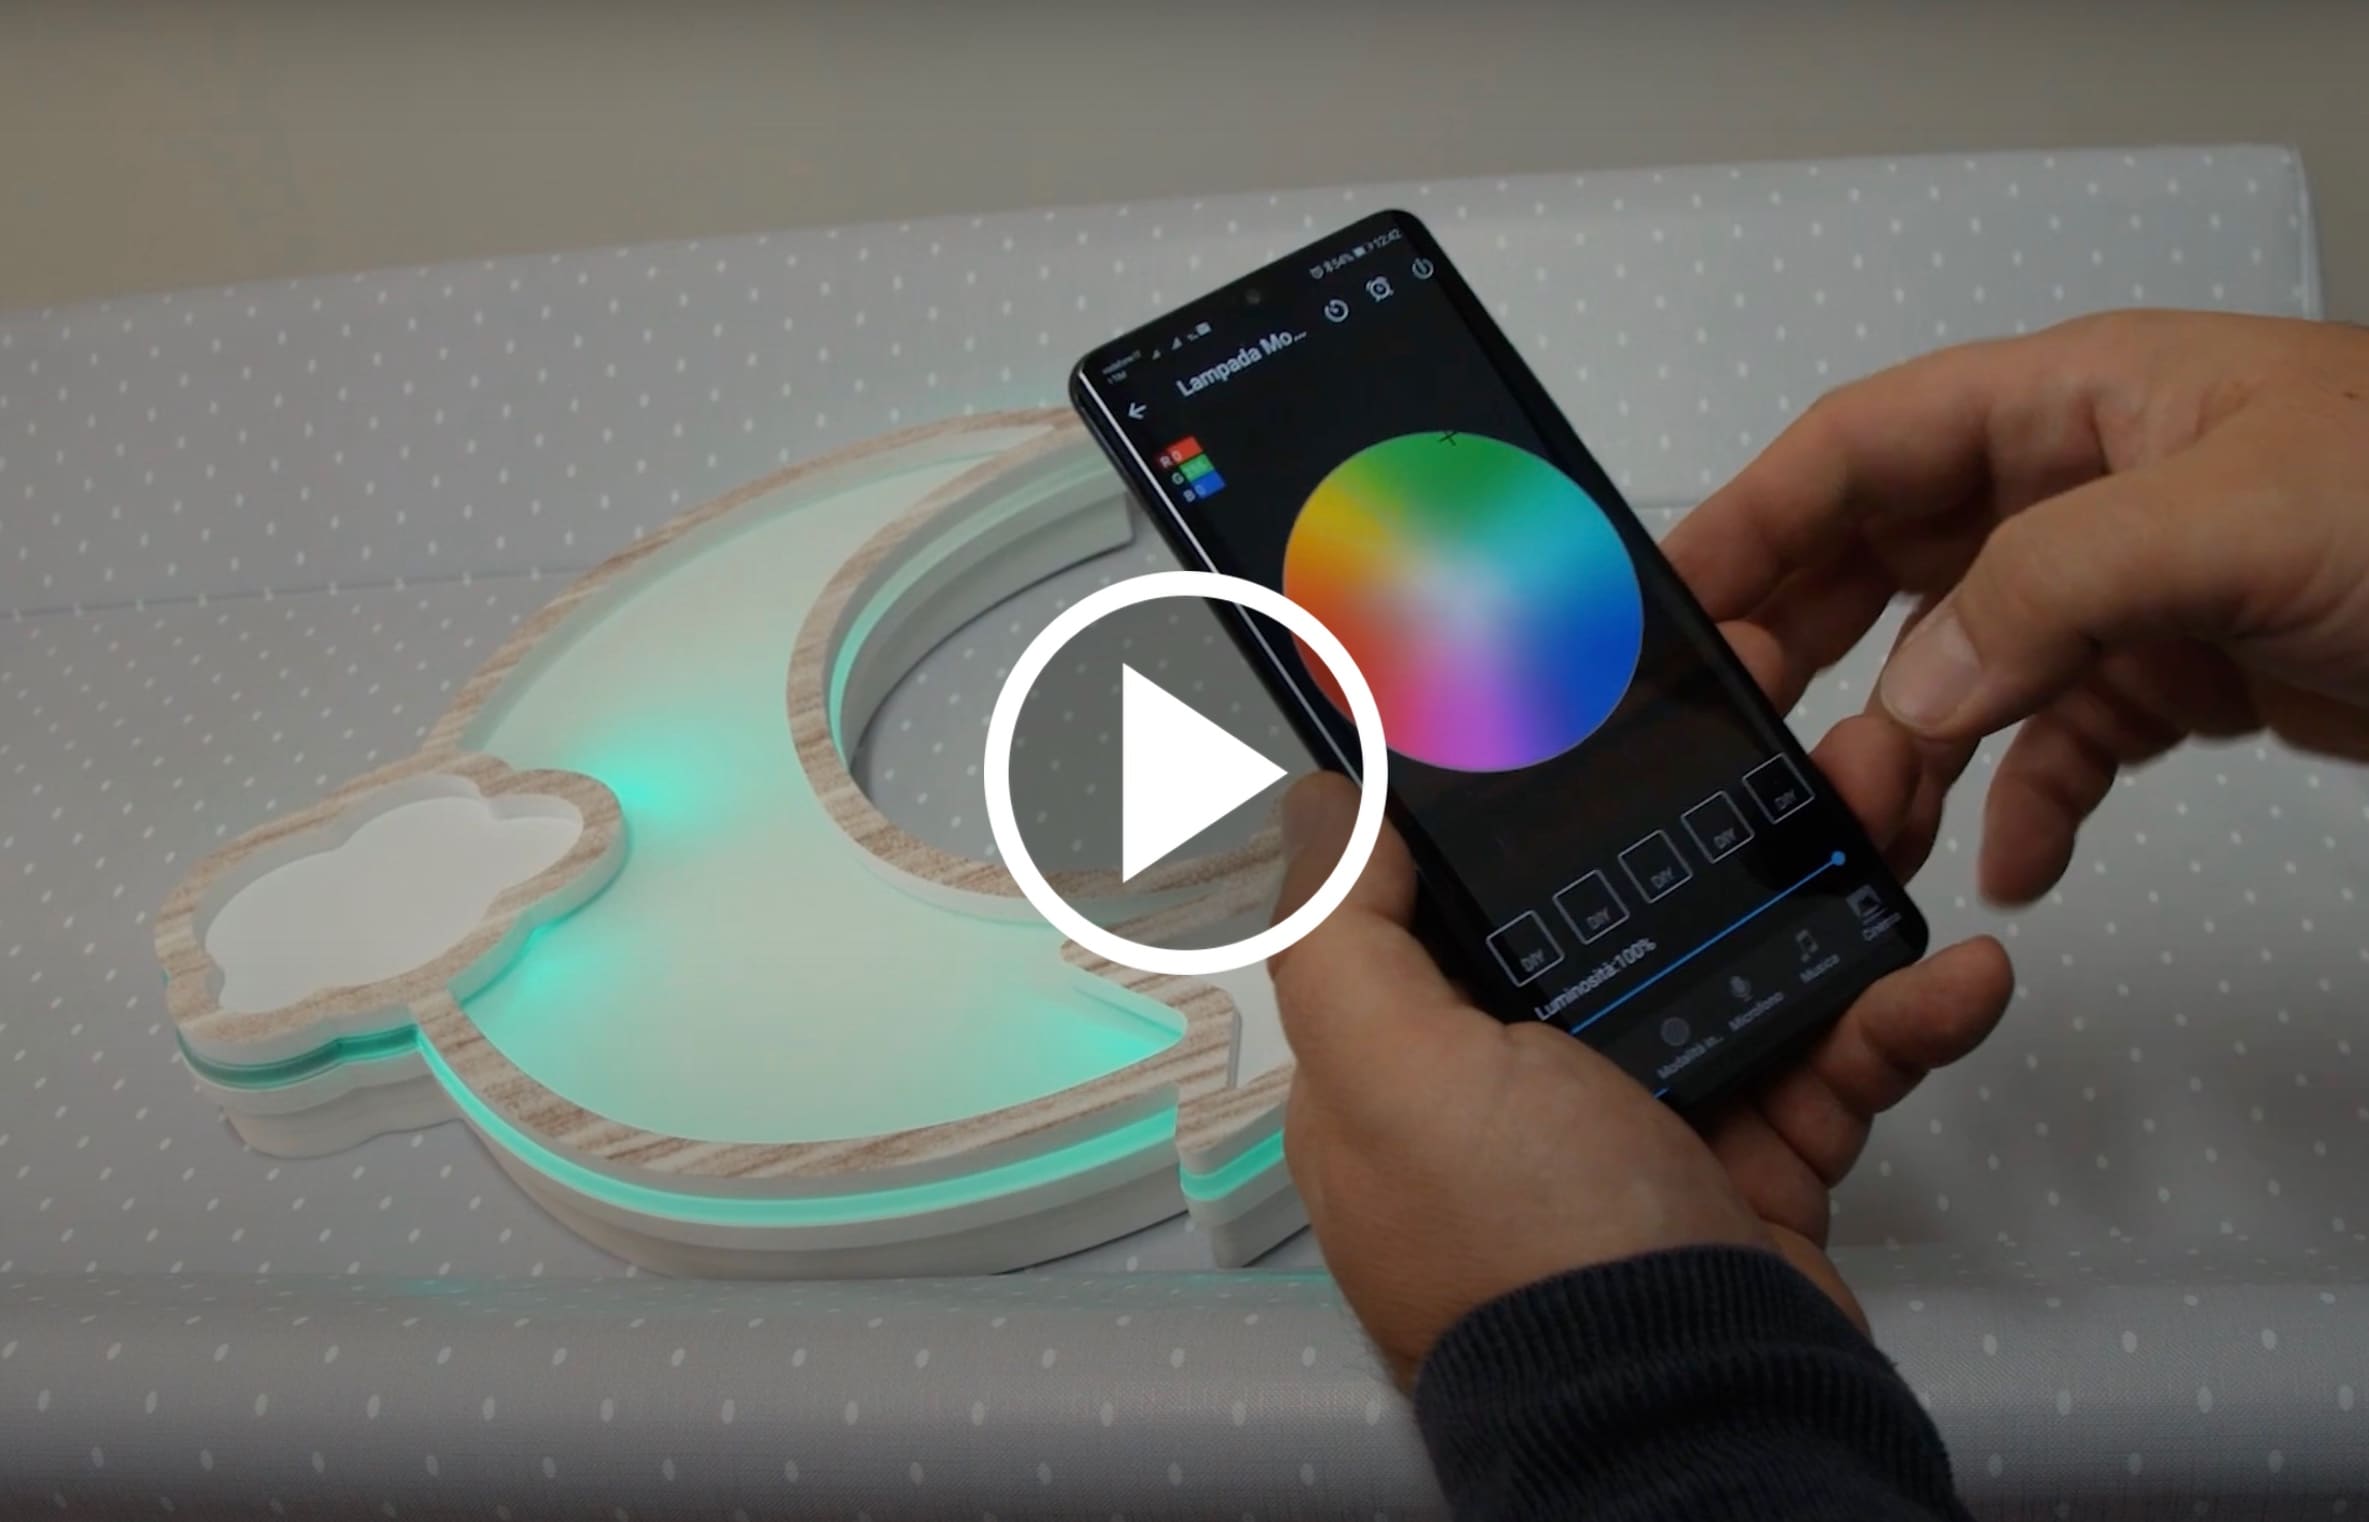
Once you have opened the packaging and assembled the bed, or the wall lamp, or the wardrobe lamp decoration, you need to download the app on your mobile phone by scanning the QR code printed on the instructions sheet. You need to activate on your phone both the BLUETOOTH and WIFI. Once the bed has been connected using the supplied cable, or the batteries have been put in the battery box of the lamps and the key is switched to ON, the system switches on and the light changes color continuously. Open the app dowloaded before and enter the password of the WIFI home network. Now you can begin to install the various devices by naming them separately (ex. MOON bed or MOON lamp or MOON cabinet). As soon as the device is found, the light stops changing color and remains fixed. At this point you can start playing with the modes available. Automatically under the various registered devices you will find the “GROUPS” section and by pressing this key you will control all the devices at the same time. You can manage the various devices separately by choosing the item line.